Have you ever wanted to dub your videos with AI, and save yourself money, while producing content at scale?
Now dubbing is possible by utilizing AI, and creating human-like voices, which can be listened to in real-time or in pre-recorded content.
In this tutorial, we will show you how AI dubbing works on videos and helps you create localized content in less than 5 minutes.
How to dub a video with AI
Dubbing audio or video content in other languages is an efficient way to produce at scale and reach a wider audience. With StoryShell’s AI dubbing software, the process of dubbing becomes easier, and it takes only 5 steps to dub.
Choosing an AI dubbing software
The first thing you will need to do is sign up for StoryShell and choose the type of account that fits your needs.
For example, the Professional plan includes longer video content, and a larger file size limit, granting you the ability to upload in any video format.
Nonetheless, you also receive a Full HD exporting feature, which is great for starting a professional YouTube channel or applying for other streaming services.
Upload your video
To start with adding voiceovers to your videos, you must choose between a New Story (new video), or Media Localization (dubbing video).
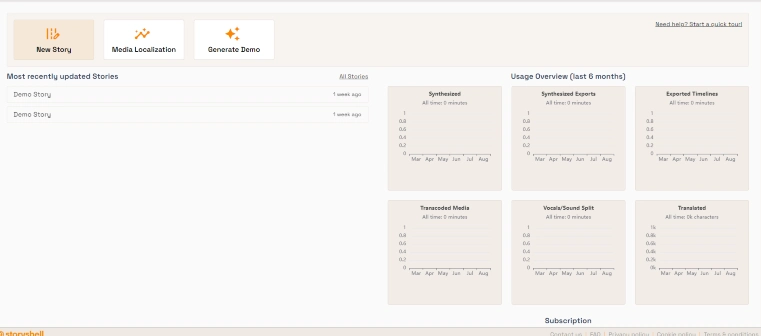
To simplify the process, we will choose the Media Localization option.
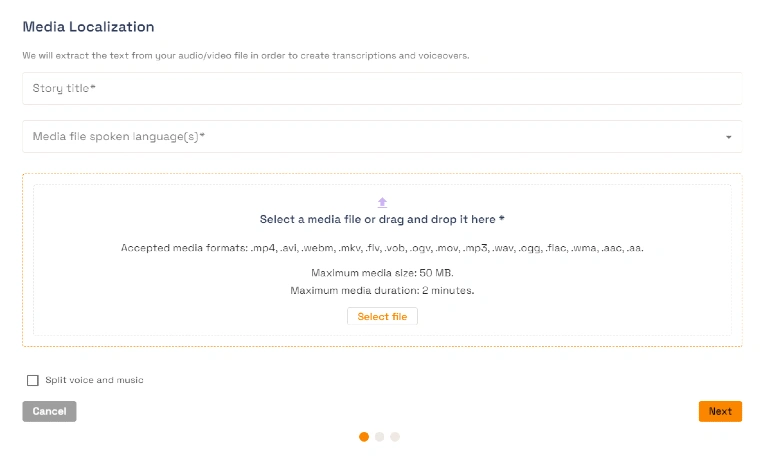
Now we will need to fill the title of the video in the Story Title field and choose the language spoken on the video.
Before continuing ahead, make sure to split the voice and music, which will allow the removal of the voice file in the next steps.
Choose the target language for the AI to dub
Once the content has been uploaded to StoryShell, you can paste it in the timeline, and head over to the voiceover section.
From there, select the Speakers option, and fill in the language, you want to be used for dubbing. Inside, you will find the available speakers, from which you can choose to add voiceovers.
Speakers may also have supported styles, which are a great addition to dubbing video content.
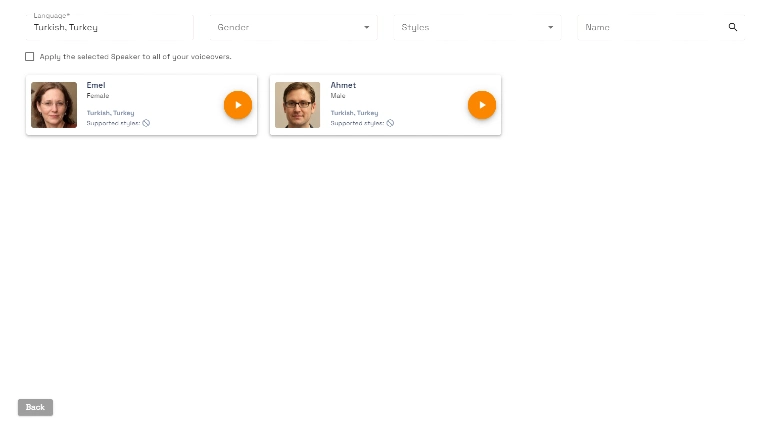
Once done, you will be given the option to review the translations and finalize the dub by hitting synchronize.
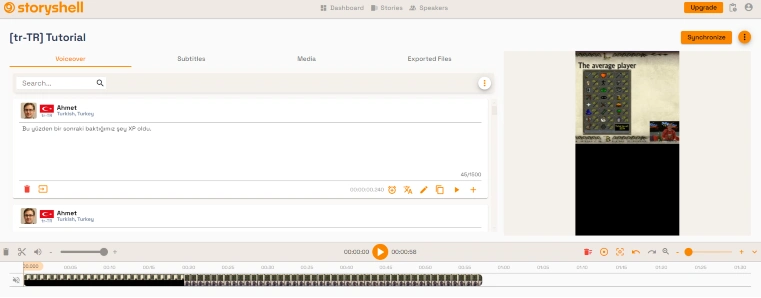
When the generation of the dub has finished, you can review and make edits.
Exporting the dubbed video
Once done with the video or audio content, you can choose to export your video. To do this, click on the 3 dots in the top right corner of the screen and choose “Export Story Timeline”.
You will be shown a screen that shows the type of content, video format, and quality of video & audio. You can change these per your plan and preference.
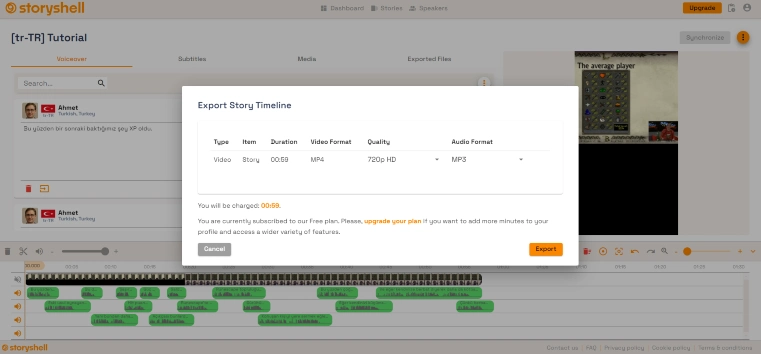
Once finalized, StoryShell will tell you the amount of time you will be charged upon downloading the video.
Clicking on the Export button, will reduce the time we mentioned previously, and automatically download your video.
How to add subtitles with AI to video
Head over to the subtitles
To add AI subtitles to any video content inside StoryShell, you will need to access the media screen and choose the subtitles section.
From there, you will be asked to choose between 3 options:
Manual Subtitles - This lets you add your own subtitles manually, and choose the timeline where they will be displayed.
Generate Subtitles - Uses AI to automatically translate and show subtitles.
Import Subtitles - This lets you import video subtitles by uploading a file containing the translated subtitles to any video.
For this tutorial, we will choose to generate subtitles with the help of AI. By choosing this option, we will have to choose the audio file, which will be scanned by AI and translated.
Apply the subtitles
To apply the subtitles, you will need to click on the button that says “Generate”.
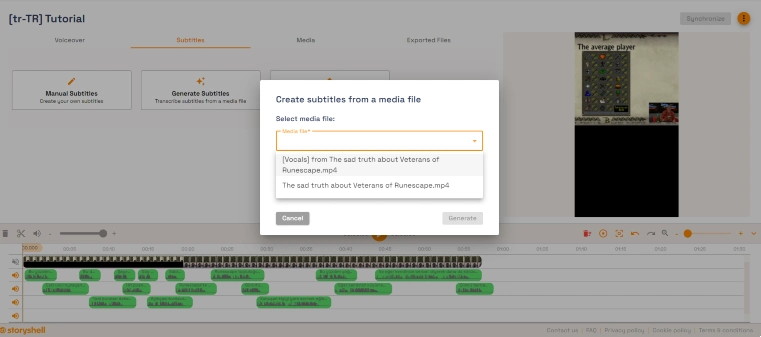
This will trigger the StoryShell AI to start synchronization between the audio and subtitles and choose the proper subtitle placement for your video content.
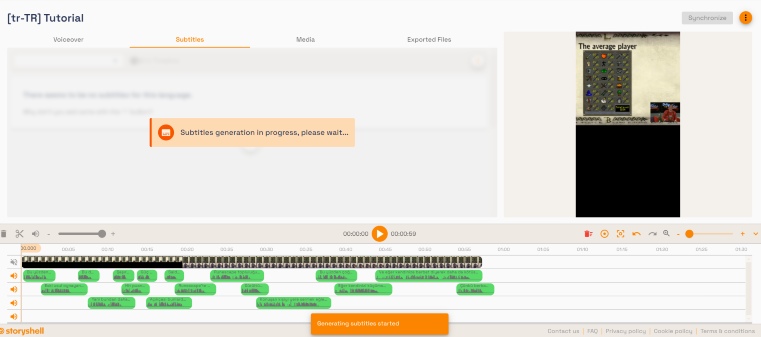
Upon the generation request, you should see a screen, mentioning that your subtitles generation is in progress.


.png)
